Making of a Rug

The Making of a rug starts long before weaving begins on the loom.. The weft or fabric must be collected and prepared and the loom warped. Many various things have been woven into a rug.. fibers to fabrics plus some very novel things from plastic bags, twines, grasses, sticks and goodness knows what else.. There are as many ways to go about this as there are weavers but here is a walk through of some of my process.
For anyone just beginning to weave rugs I heartily recommend Janet and Paulas book
'Rag Rug Handbook.. Janet Meany & Paula Pfaff.
~ ~ ~ ~ ~ ~ ~ ~ ~ ~

Preparing the weft...
Ive become more selective in the materials I choose to use weaving rugs, I use sheets, larger pieces of fabrics and of course blue jeans a good old standby for a sturdy rug... and wools. Most of my weft materials are recycled.
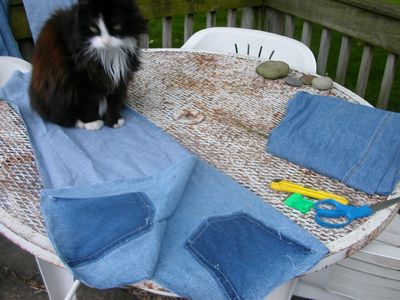
Blue jeans I sort into 3 groups, light medium and dark.
I begin by cutting the fabric from the seams.
The zippers and pockets are saved leaving very little waste..
Molly supervising
Molly supervising
Molly supervising
Molly supervising
Molly supervising

Gemsy Cutter
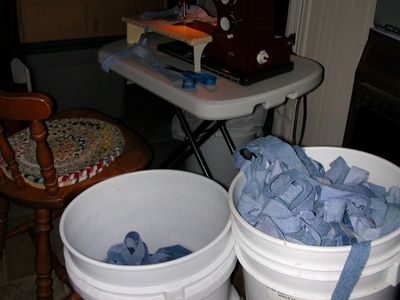
Since I do group my jean colors, light, medium and dark, depending on the rug Im going to do Ill pull from each batch while sewing the strips to get a fairly even dispersion of the colors
or I can play and plan the areas more specifically.
Lights to darks.. darks to lights.. etc.
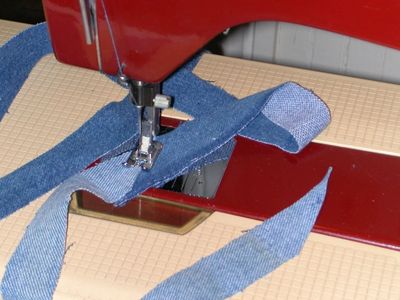
Sewing the strips together I prefer the diagonal cut then sewn with a 3 step zig zag stitch. I choose not to have chunky seams and bumps in my rugs.
Warping the loom...
Most rug looms have sectional beams and weavers usually load the back beam with many yards at a time, 50 to 100 or what the loom will hold I choose to do more variations of colors and patterns
so I do shorter warps... much shorter, lets say...short!
The warping process is similar on most looms, the most important task is to get warp on with an even tension The spools of warp are mounted on the warp rack then fed through the tension box and tied in a knot which is half hitched to an extension cord from the warp beam.. This is sectional warping.
[Note: Since the back cloth beam on most of my rug looms is round and this tension box is designed for a flat surface I attach a board over the beam to mount the tension box]
The next important thing is to carefully count the revolutions of the beam, there are various methods and gadgets for keeping track. The warp beam on many rug looms is approximately one yard around, a section being off a round or two at the end of the run can be very wasteful and costly as the price of warp continues to go up.
I lay the tape over the ends keeping them in pretty fair order, cut the warp, tie a knot ready for the next section and fasten to extension cord
Threading the loom
This loom has cords and pulleys on top so I transfer the board from back beam to the top, carefully
lay each taped bundle over the top towards the front. See how the tape keeps the warp in fairly good order..
Ive removed the reed from the beater and hung it in front of the heddles with a couple loops. This is about the only time I use a threading hook, and I use a fairly long one. It can go through the reed and heddle, catch the strand of warp from the tape and pull the warp through both at once Gather in consistent bunches of about an inch in the reed, double check the threading then tie a loose knot to hold the ends. You don't want them to slip back out.
I can sit inside the loom on the front beam not particularly comfortable but makes threading go faster for me so it doesnt take as long
Tying on to the front apron
Tying on to the front apron
Tying on to the front apron
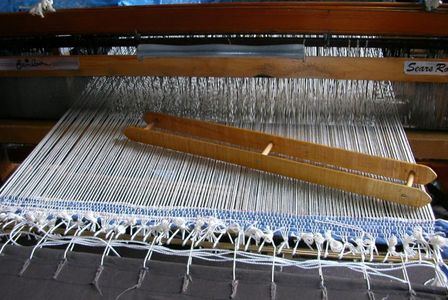
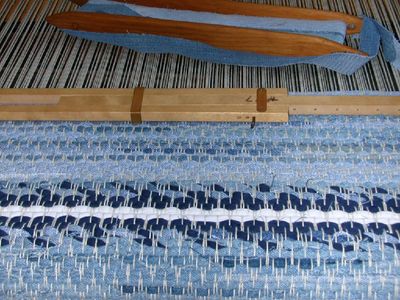
This one is tied on to the front by using the
lashing method then a few rows of filler is woven.
Tying on to the front apron
Tying on to the front apron
Slats are laid in as spacers for fringe.
Tie up
Tie up
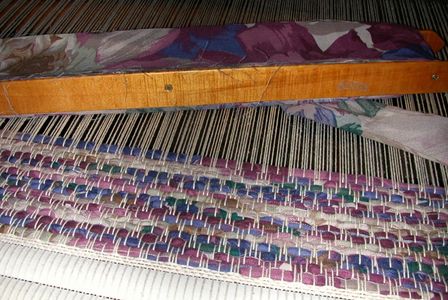
Weaving in Process using a temple
Tie up
Tie up
Tie up
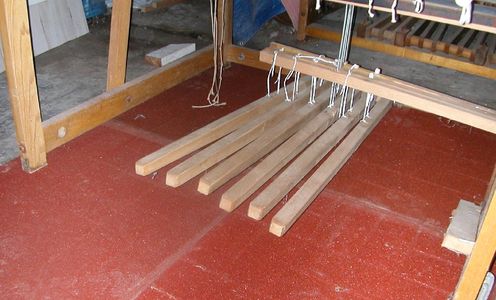
These treadles used to be controlled by
steel rods, Ive switched to texsolv cord.